This guide walks you through connecting Axiom to Claude using a Custom Connector. Custom Connectors let Claude talk to remote MCP servers like Axiom directly from any Claude client, including Claude Desktop, claude.ai, and mobile. Once connected, Claude can make purchases for you through Axiom's secure virtual card system.
What you'll need
- Claude Desktop or a claude.ai account (Pro, Max, Team, or Enterprise). Free plans are limited to one custom connector.
- An Axiom account with a linked card and spending rules configured
- About five minutes
Step 1: Open the Customize panel
In Claude Desktop, click Customize in the left sidebar.
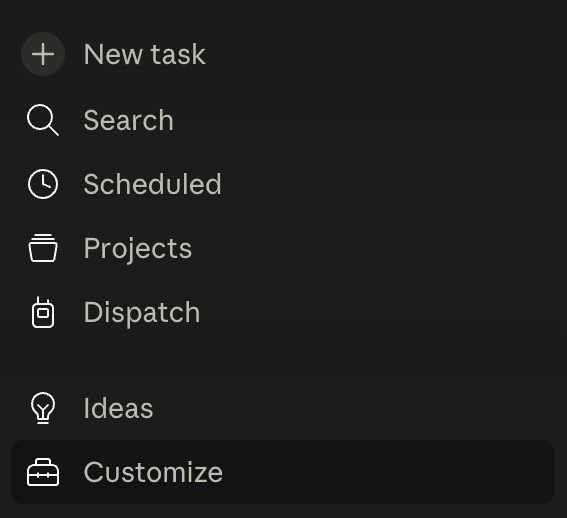
This opens the Customize panel where you can manage skills, connectors, and plugins.
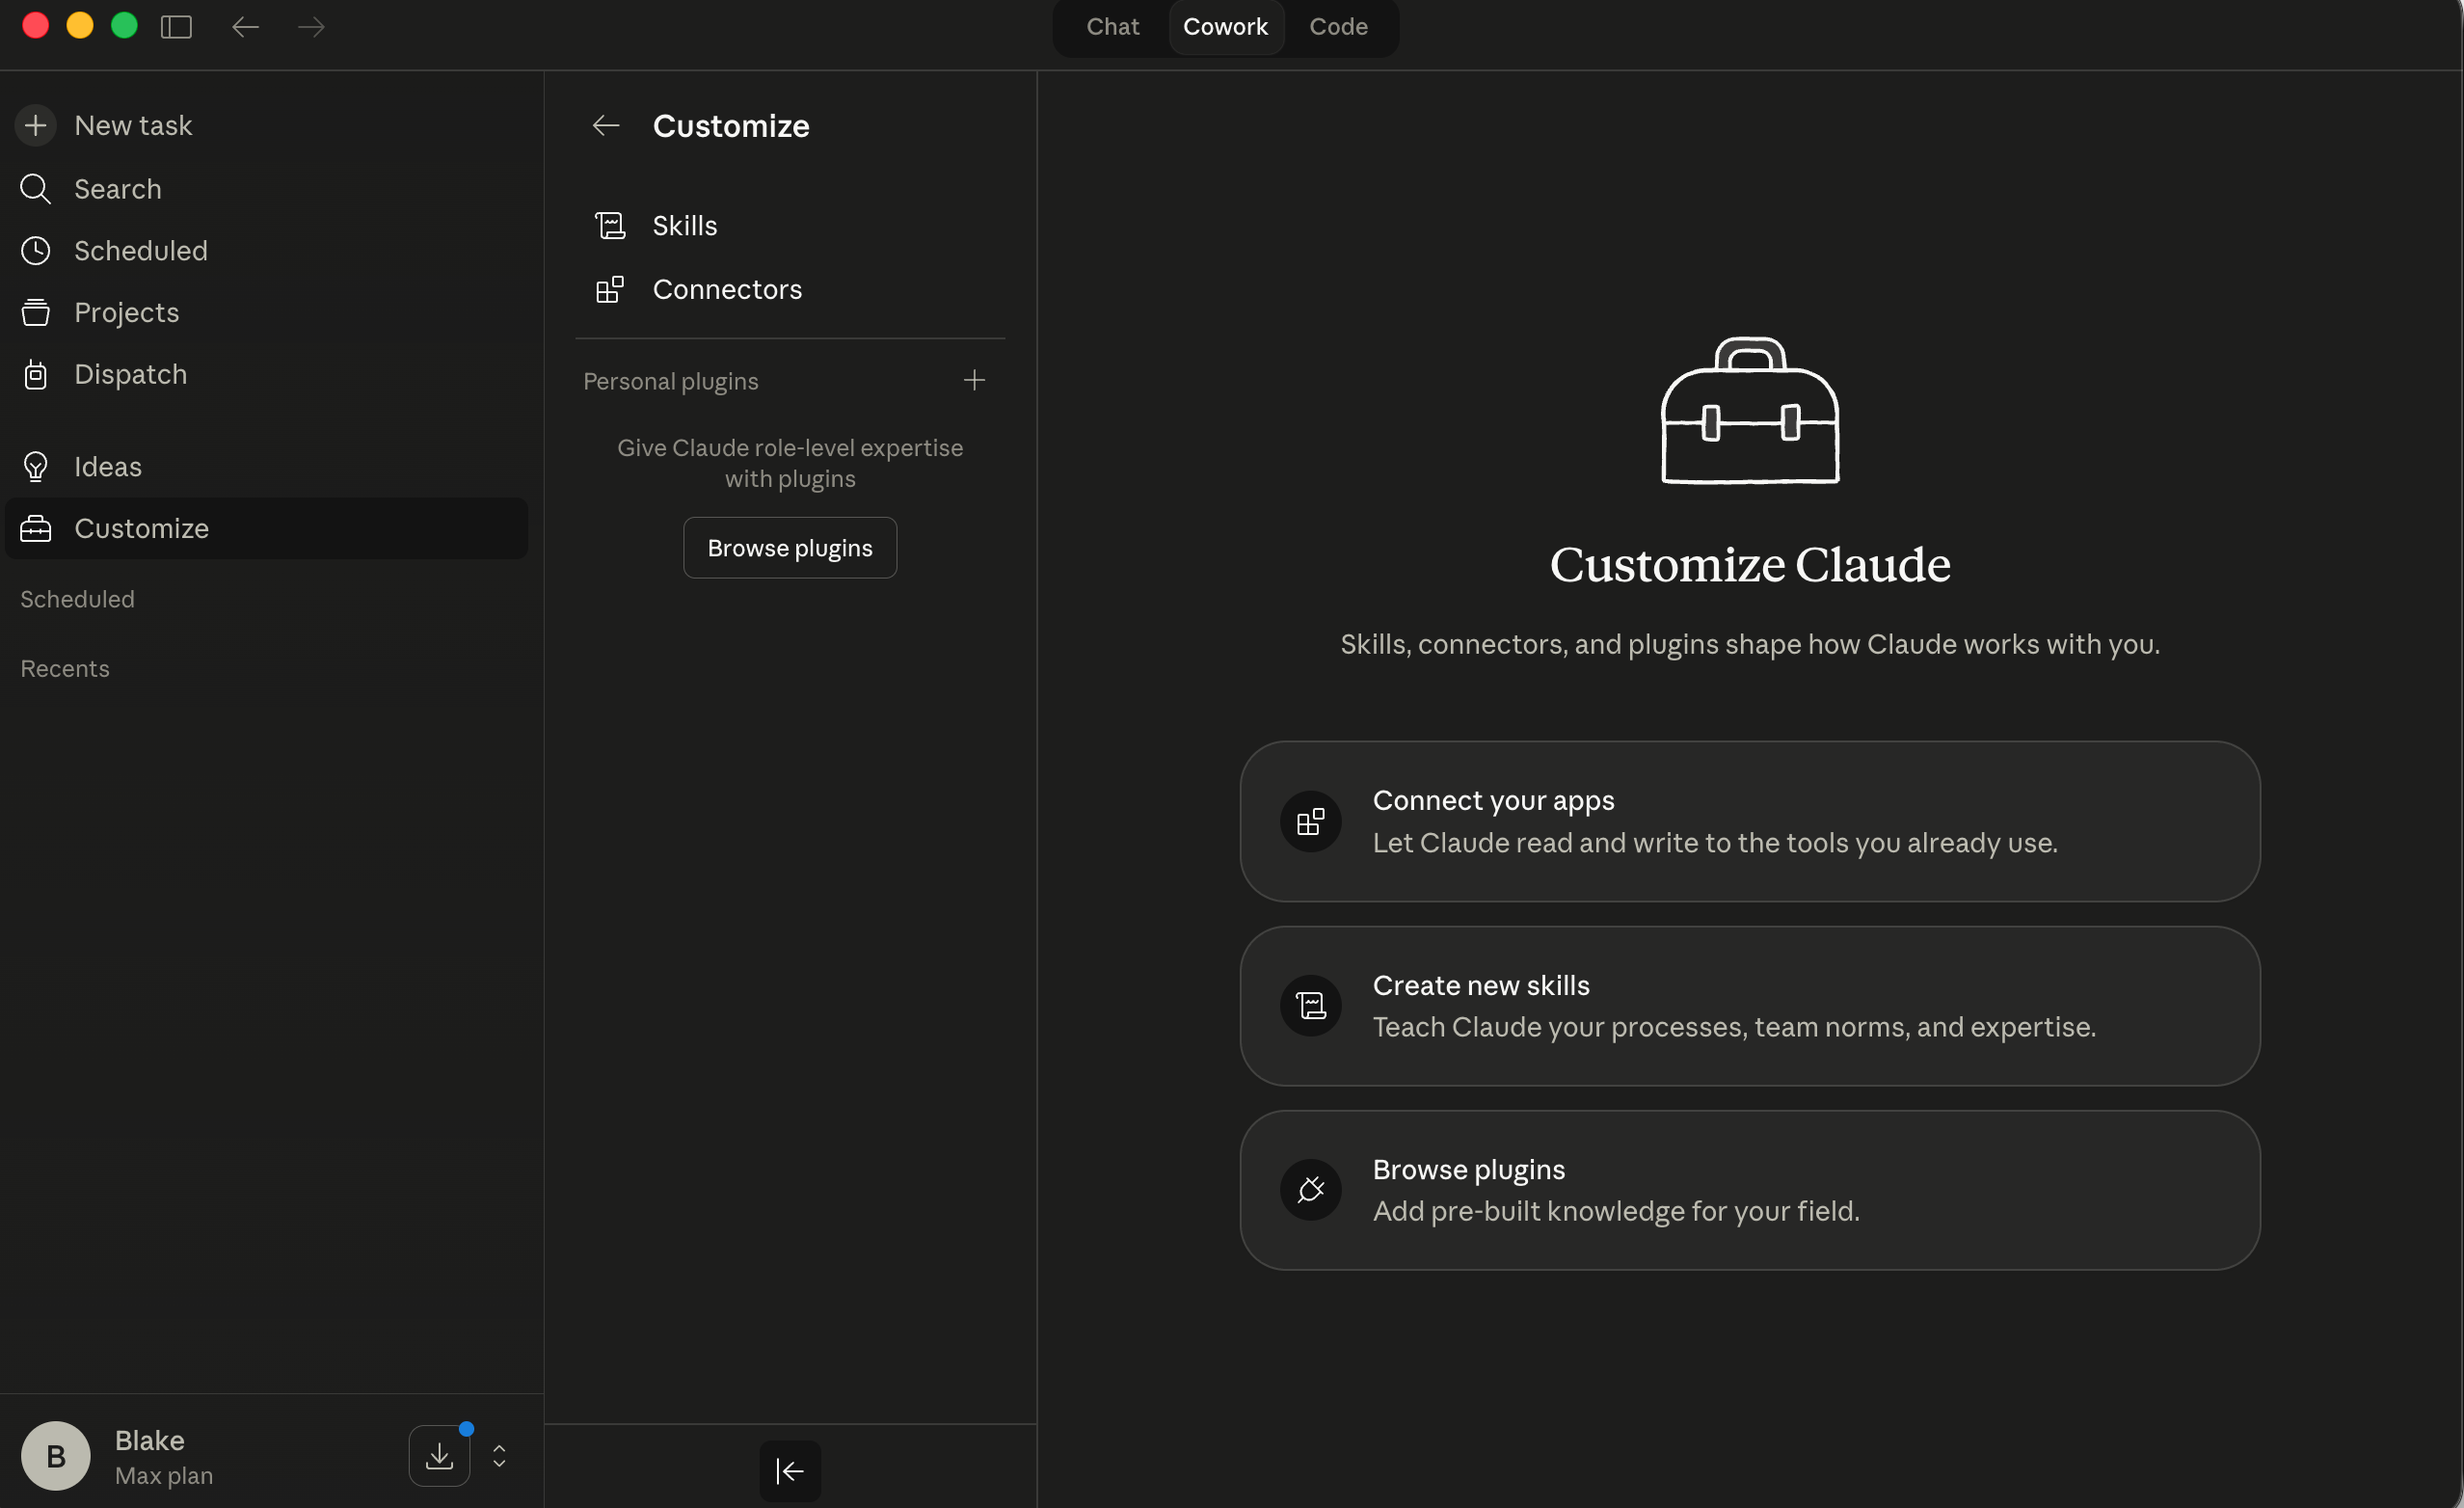
Click Connectors at the top of the panel.
Step 2: Add Axiom as a Custom Connector
On the Connectors page, click the "+" button and select "Add custom connector" from the dropdown.
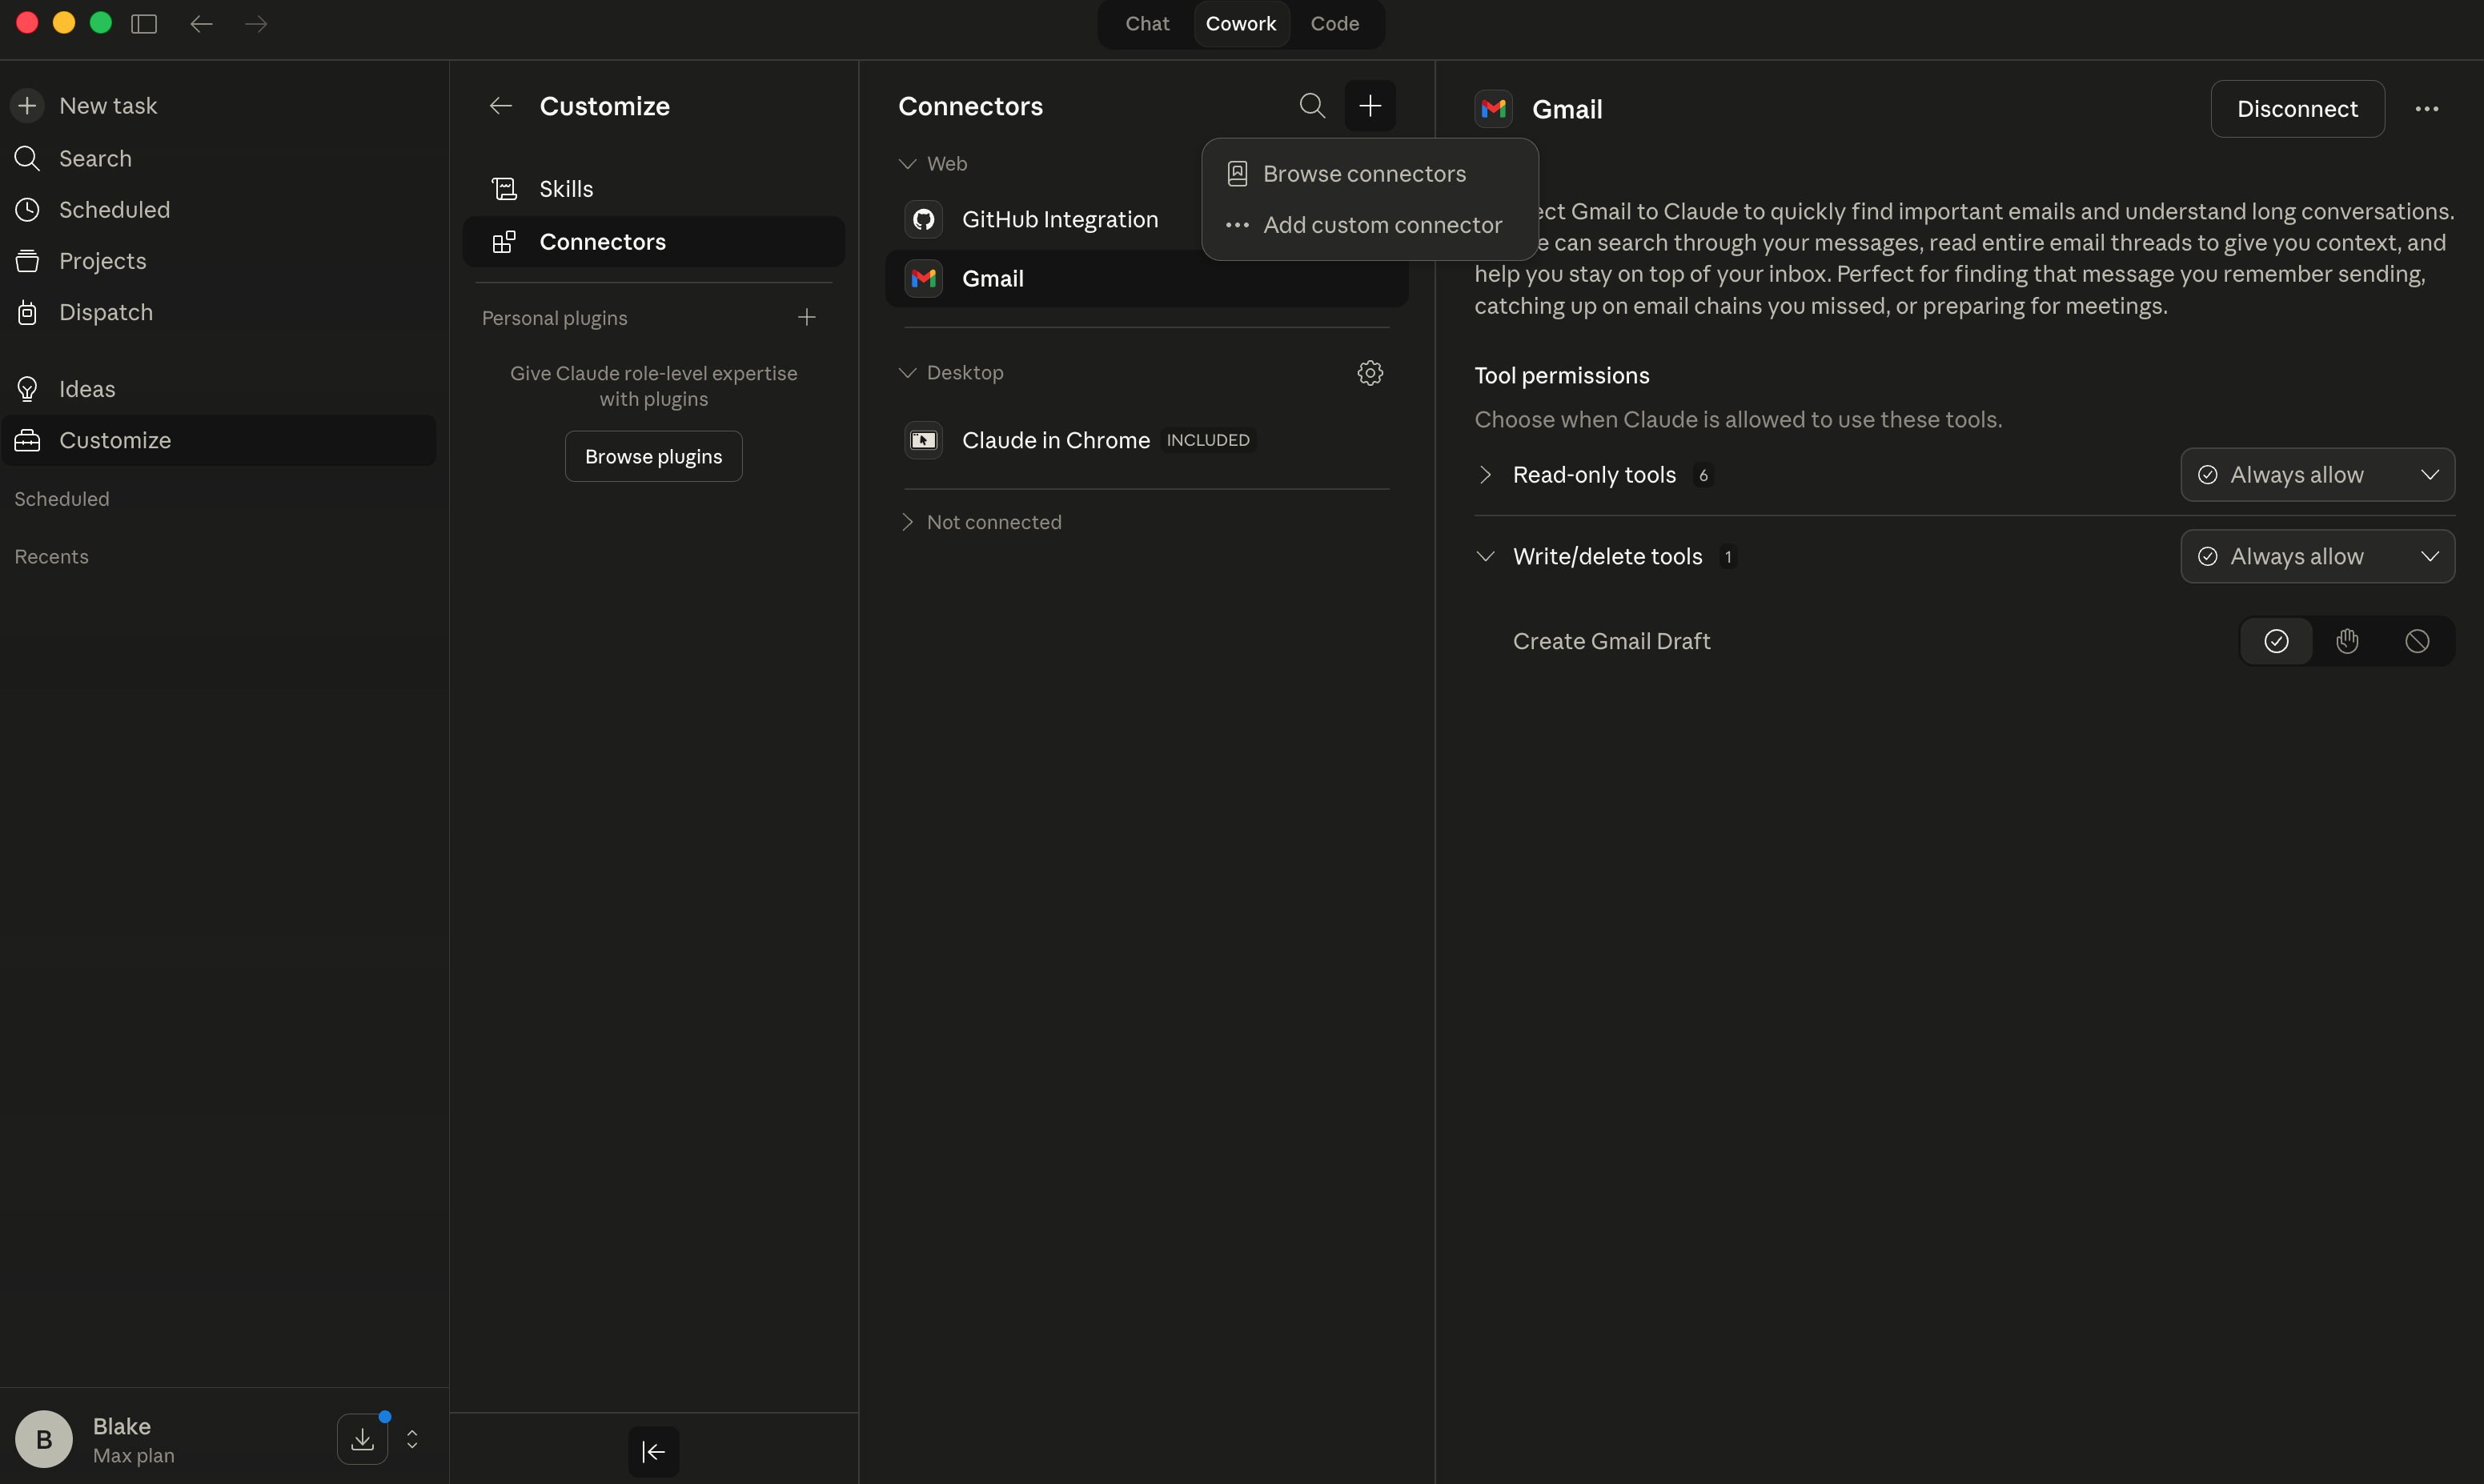
A modal will appear asking for a Name and Remote MCP server URL.
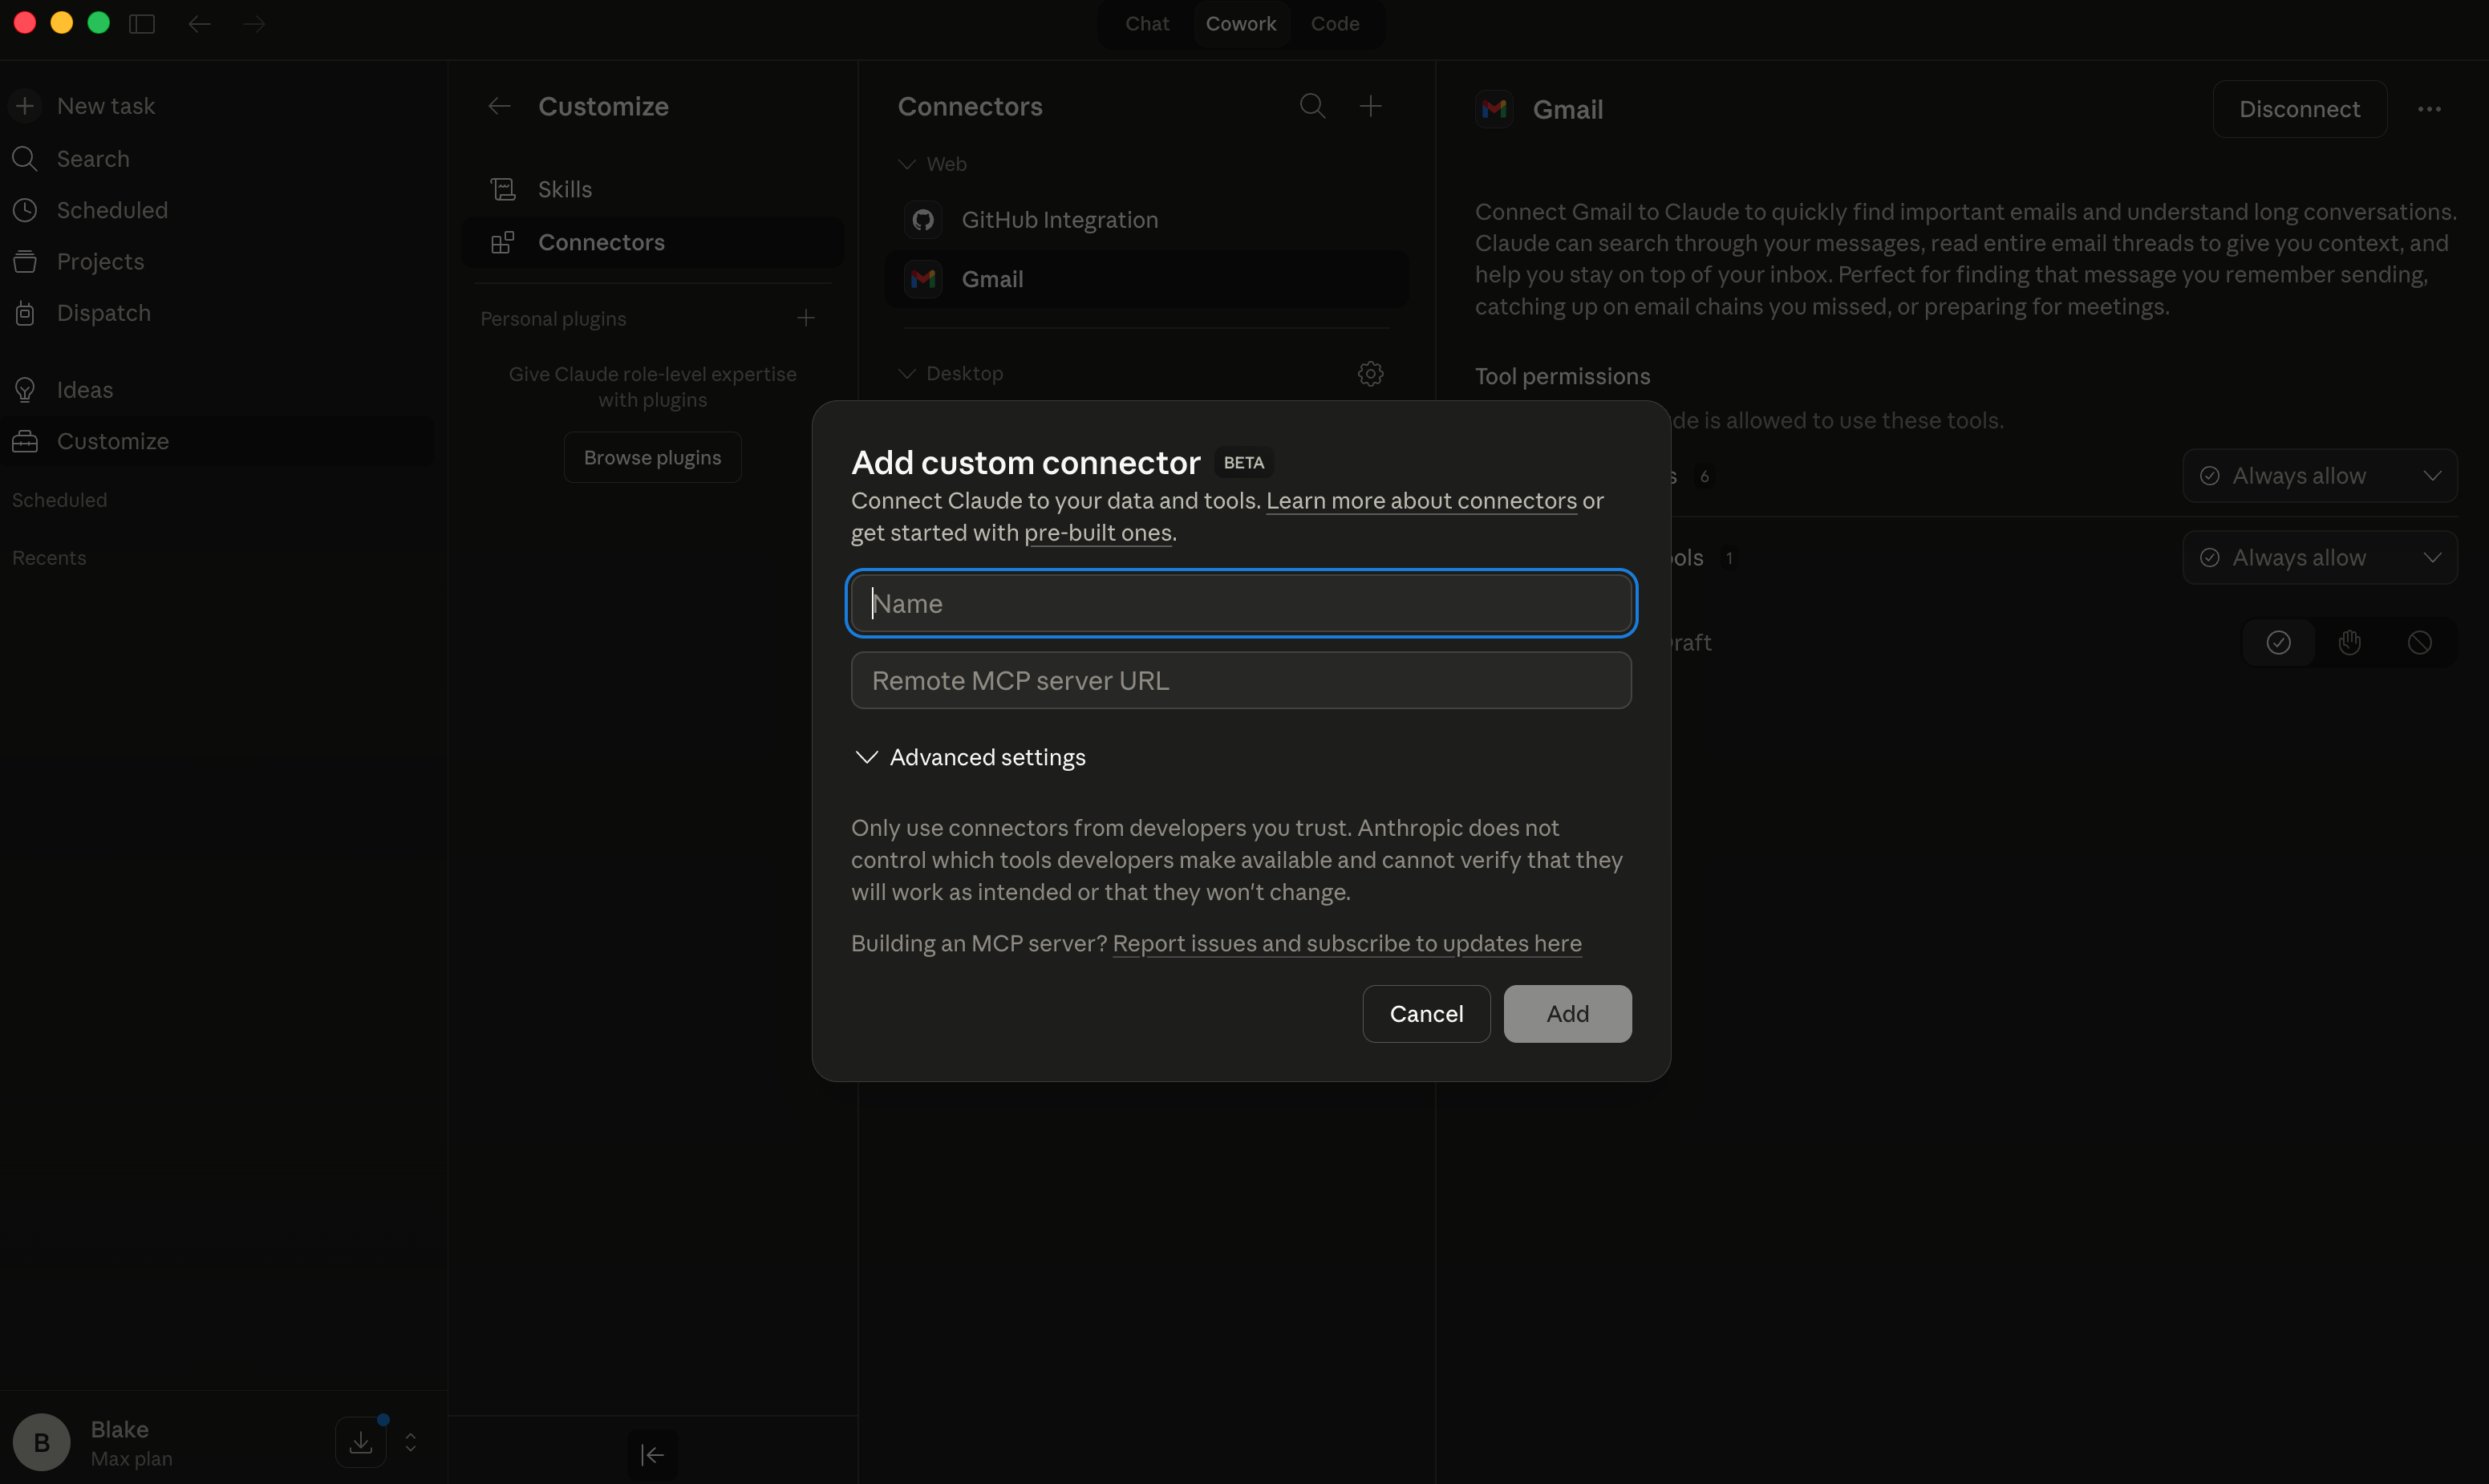
Enter Axiom as the name and paste the MCP server URL:
MCP Server URL
https://mcp.useaxiom.ai/mcp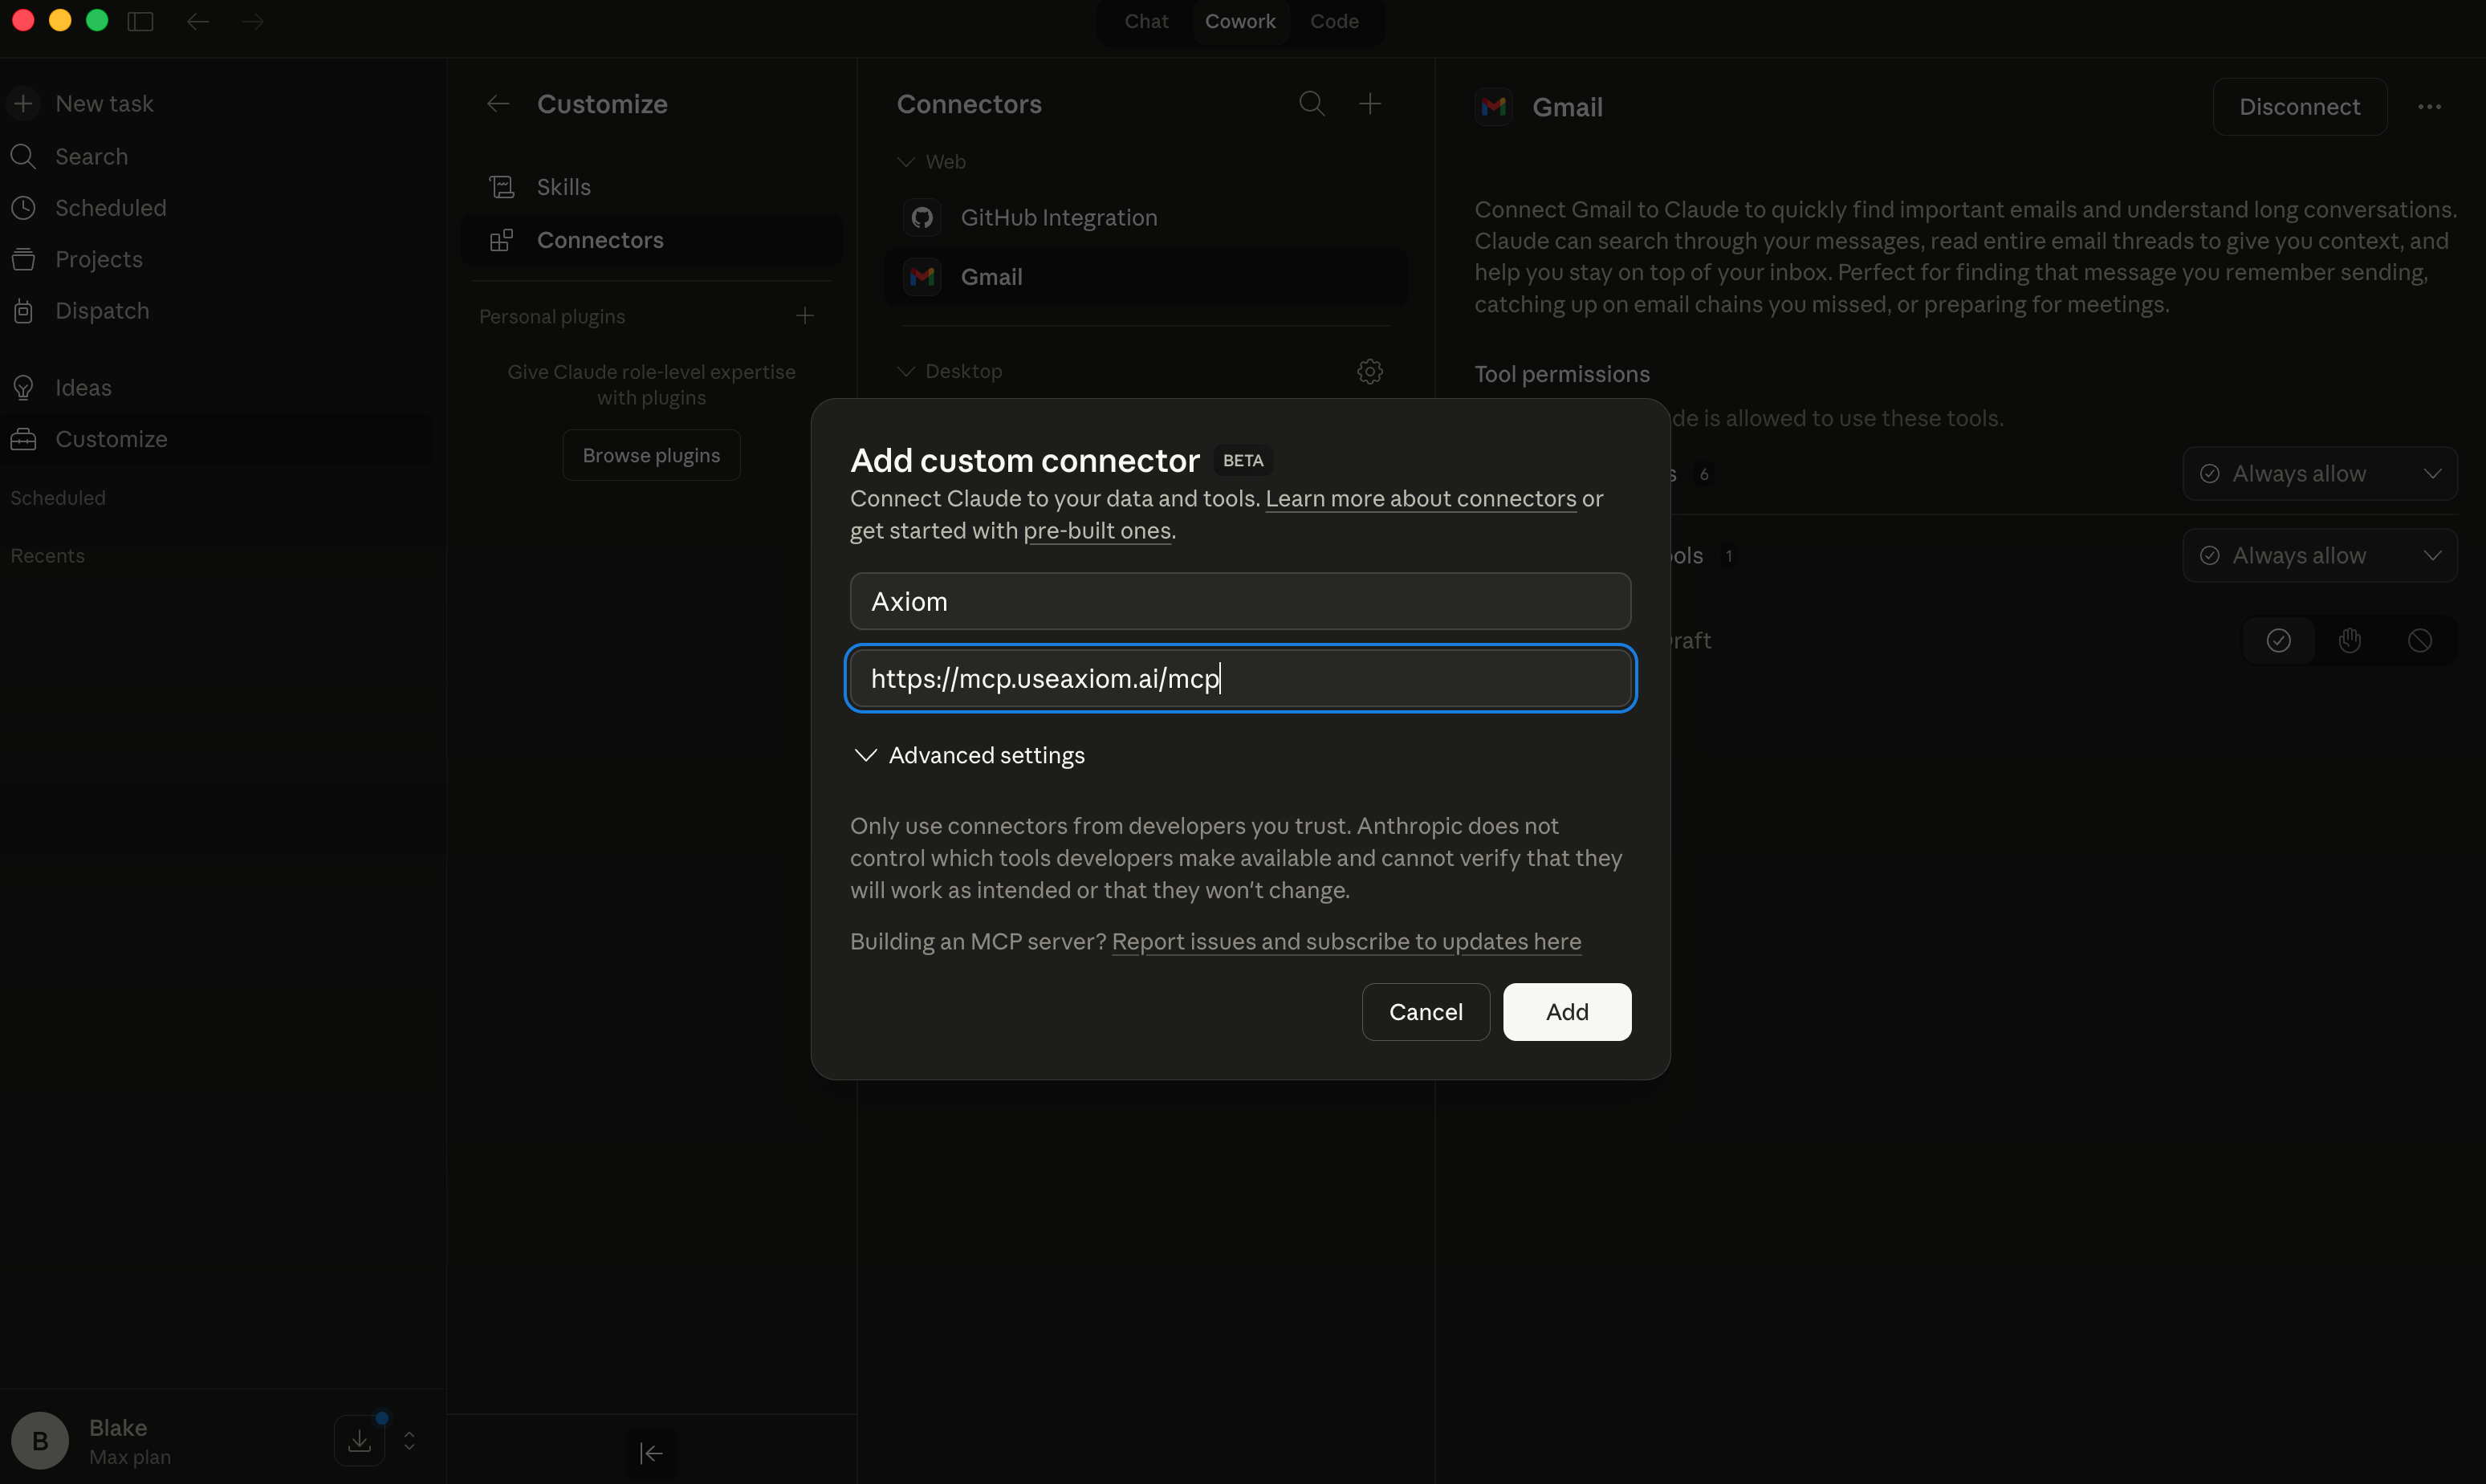
Click Add.
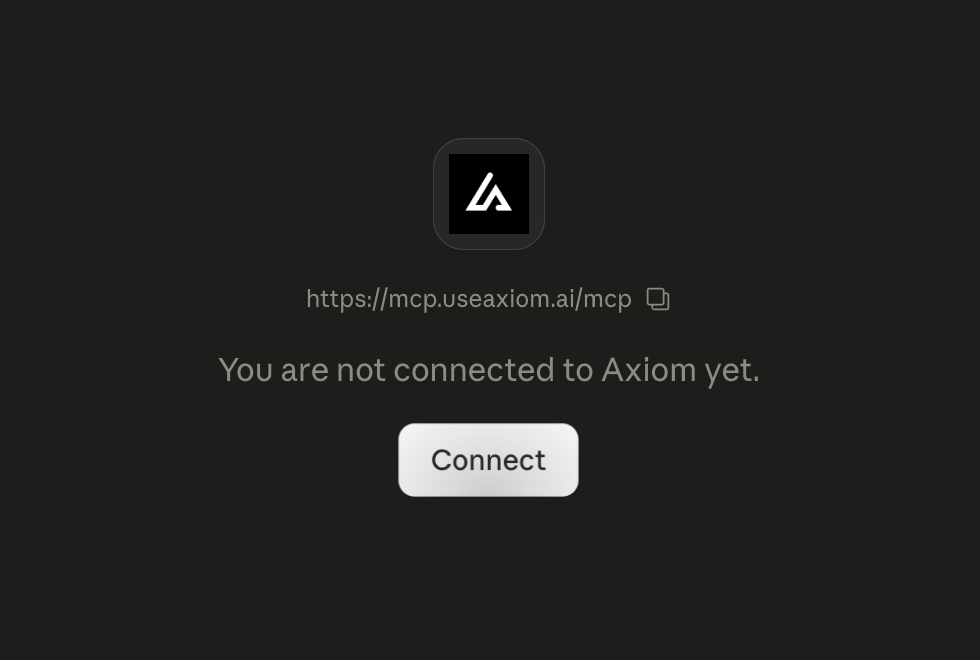
Step 3: Authorize the connection
After adding the connector, Claude will show a connection dialog for Axiom. Click Connect to begin the authorization flow.
You'll be taken to Axiom's authorization page. Review the permissions Claude is requesting, then click Approve.
The requested permissions include: Account Access, View Rules, Payment Details, View Transactions, and Update Transactions.

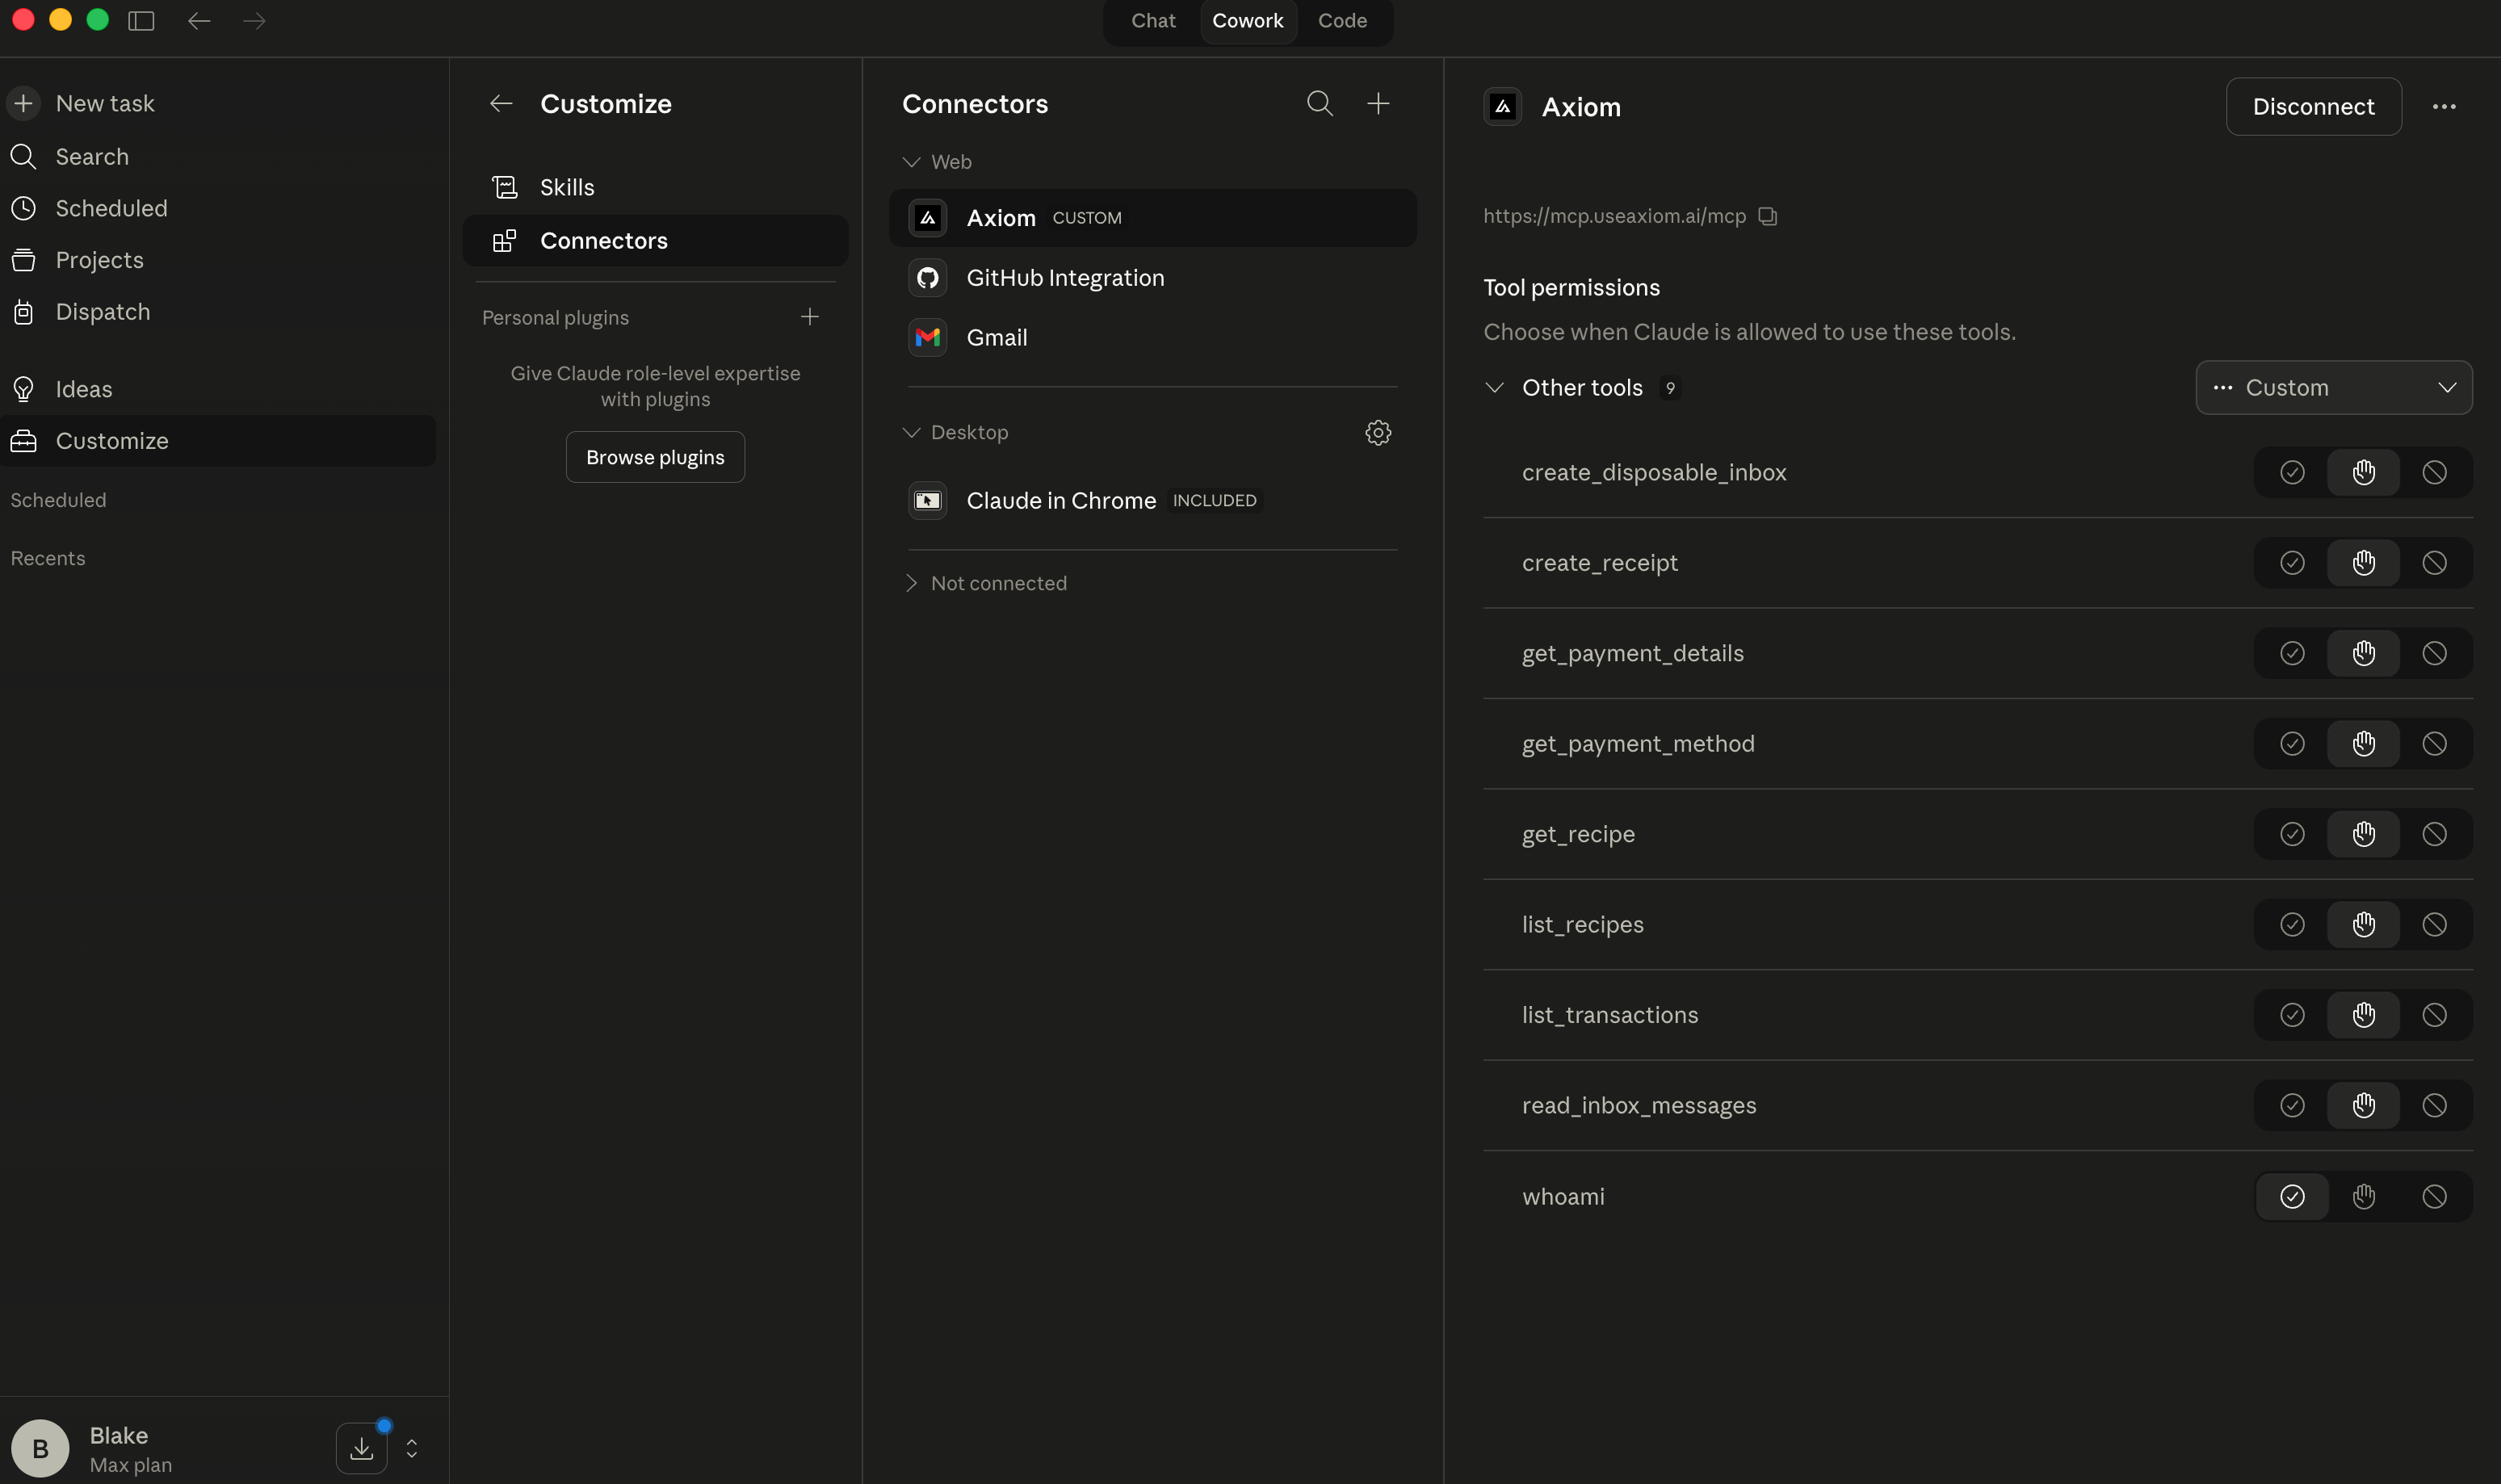
Once approved, you'll be redirected back to Claude. Axiom will appear in your Connectors list as connected, with all its tools available.
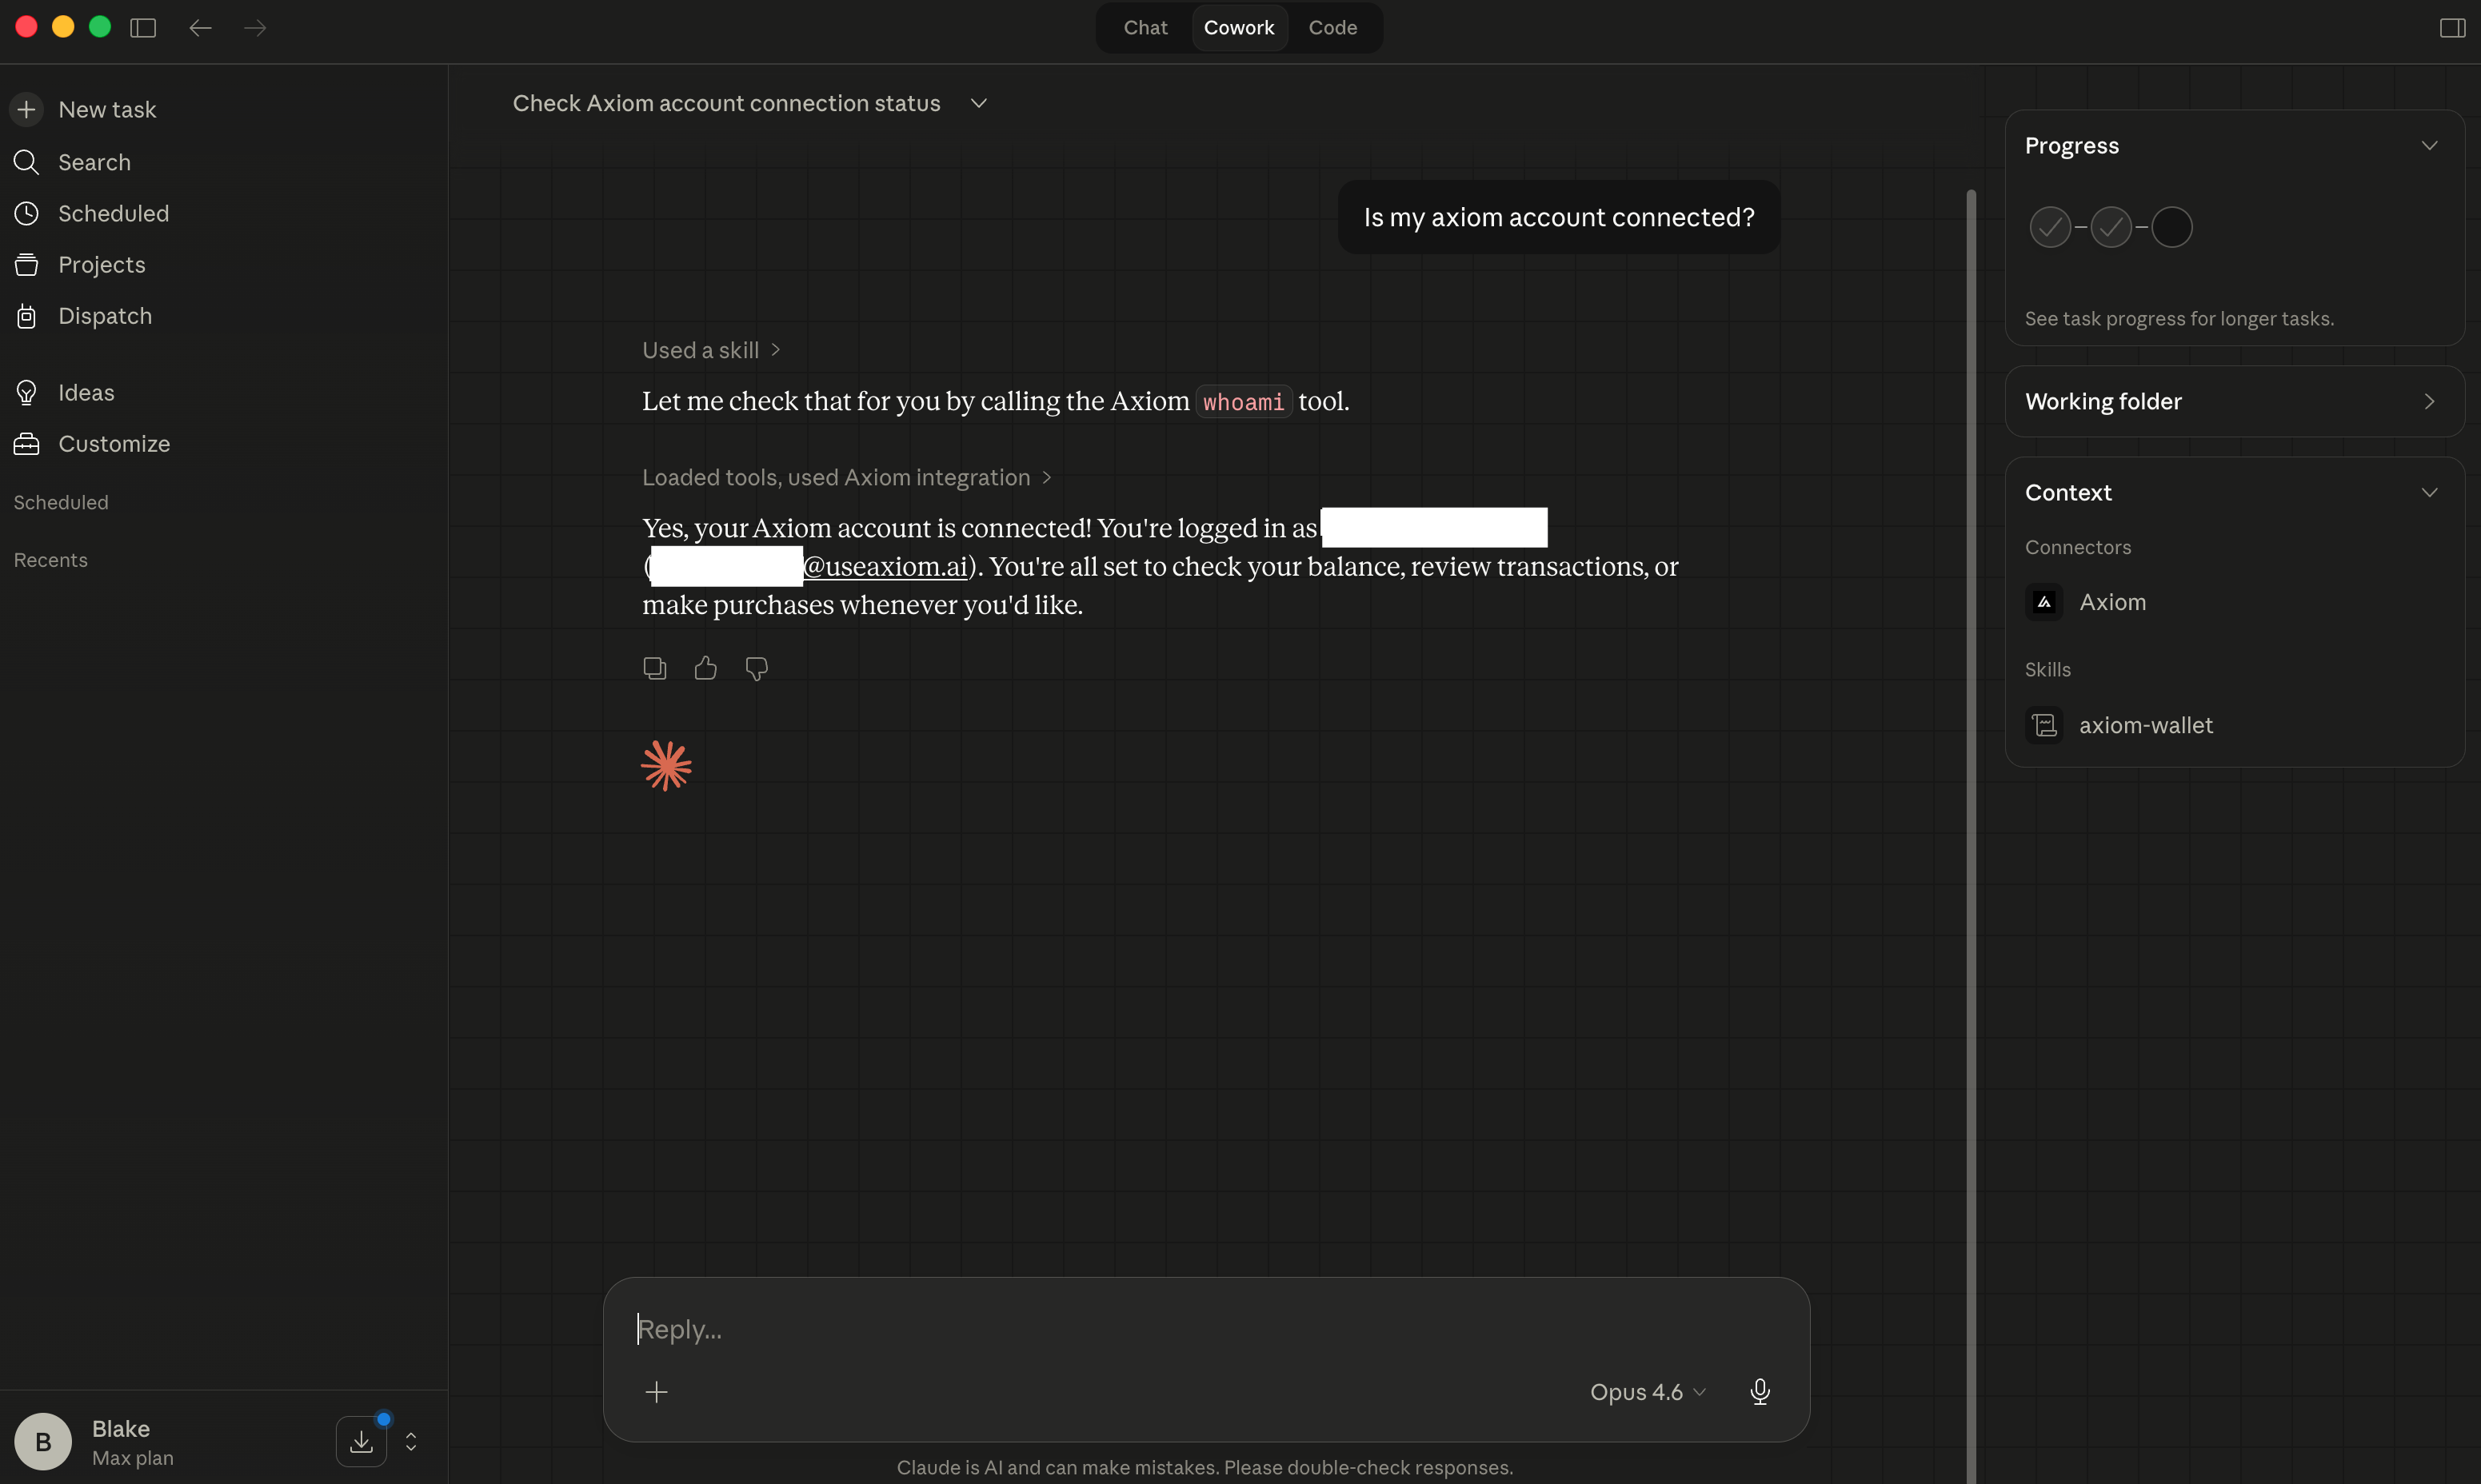
Step 4: You're all set!
Axiom is connected and ready to go. Open a new conversation in Claude and try it out. Ask something like "Is my Axiom account connected?" and watch Claude call Axiom's tools in real time.
Claude now has access to your full Axiom toolkit: checking spending rules, reviewing transactions, issuing virtual cards, and making purchases on your behalf. All within the guardrails you've configured.
Ready to put it to work? Browse our recipes for step-by-step agent workflows like snagging a deal, tracking a price drop, or buying a gift. Or jump straight in and ask Claude to make a small test purchase to see the full flow in action.
Troubleshooting
- Claude doesn't show Axiom tools. Make sure you've completed the authorization flow. Go to Customize → Connectors and check that Axiom shows as connected.
- Connection fails. Verify the remote MCP server URL matches what's shown below. You can check or update it in Customize → Connectors.
https://mcp.useaxiom.ai/mcp- Authentication errors. Your OAuth session may have expired. Go to Customize → Connectors, disconnect Axiom, and reconnect it.
- Purchase blocked. Verify your spending rules allow the category and amount you're trying to purchase.